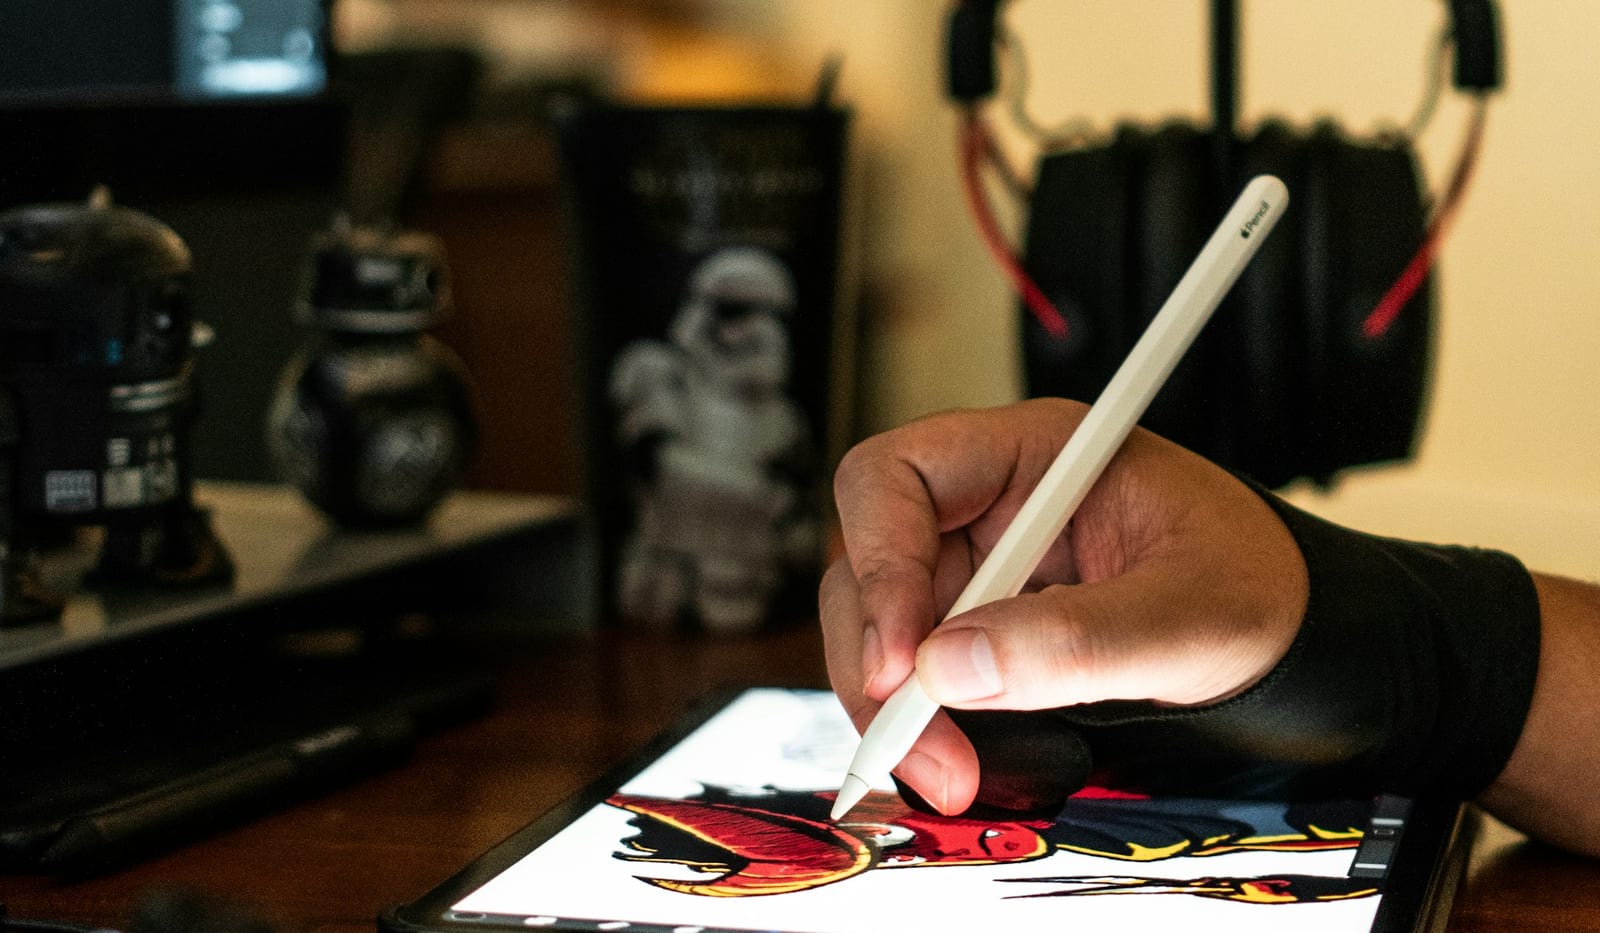
Turning a sketch into an AI image works best when you divide the job in two. The sketch should communicate composition, proportion, pose, and placement. The written prompt should describe what the drawing cannot show clearly, such as materials, lighting, color, atmosphere, and finish.
This guide works for pencil sketches, line drawings, wireframes, and rough digital paintings. The exact buttons differ between AI image tools, but the preparation, prompting, comparison, and revision process is largely the same.
01
What does “sketch to AI image” mean?
A sketch-to-image tool uses your drawing as a visual reference instead of generating from text alone. Some tools call this image-to-image, structure reference, composition reference, or guided generation. The shared goal is to keep useful information from the sketch while adding visual detail.
There are three common modes. Image-to-image restyles the whole sketch. Structure-guided generation tries to preserve edges, depth, pose, or composition. Inpainting changes only a selected region. If you need to keep the layout but test different materials, start with structure guidance. If only one part is wrong, use inpainting instead of regenerating everything.
02
Prepare the sketch before uploading it
- Make the main silhouette easy to distinguish from construction lines.
- Show large shapes and important negative space before adding surface detail.
- Use darker lines for decisions that must remain and lighter lines for suggestions.
- Remove accidental marks that could be interpreted as extra objects, borders, or shadows.
- Crop the image to the final aspect ratio you want the generated image to use.
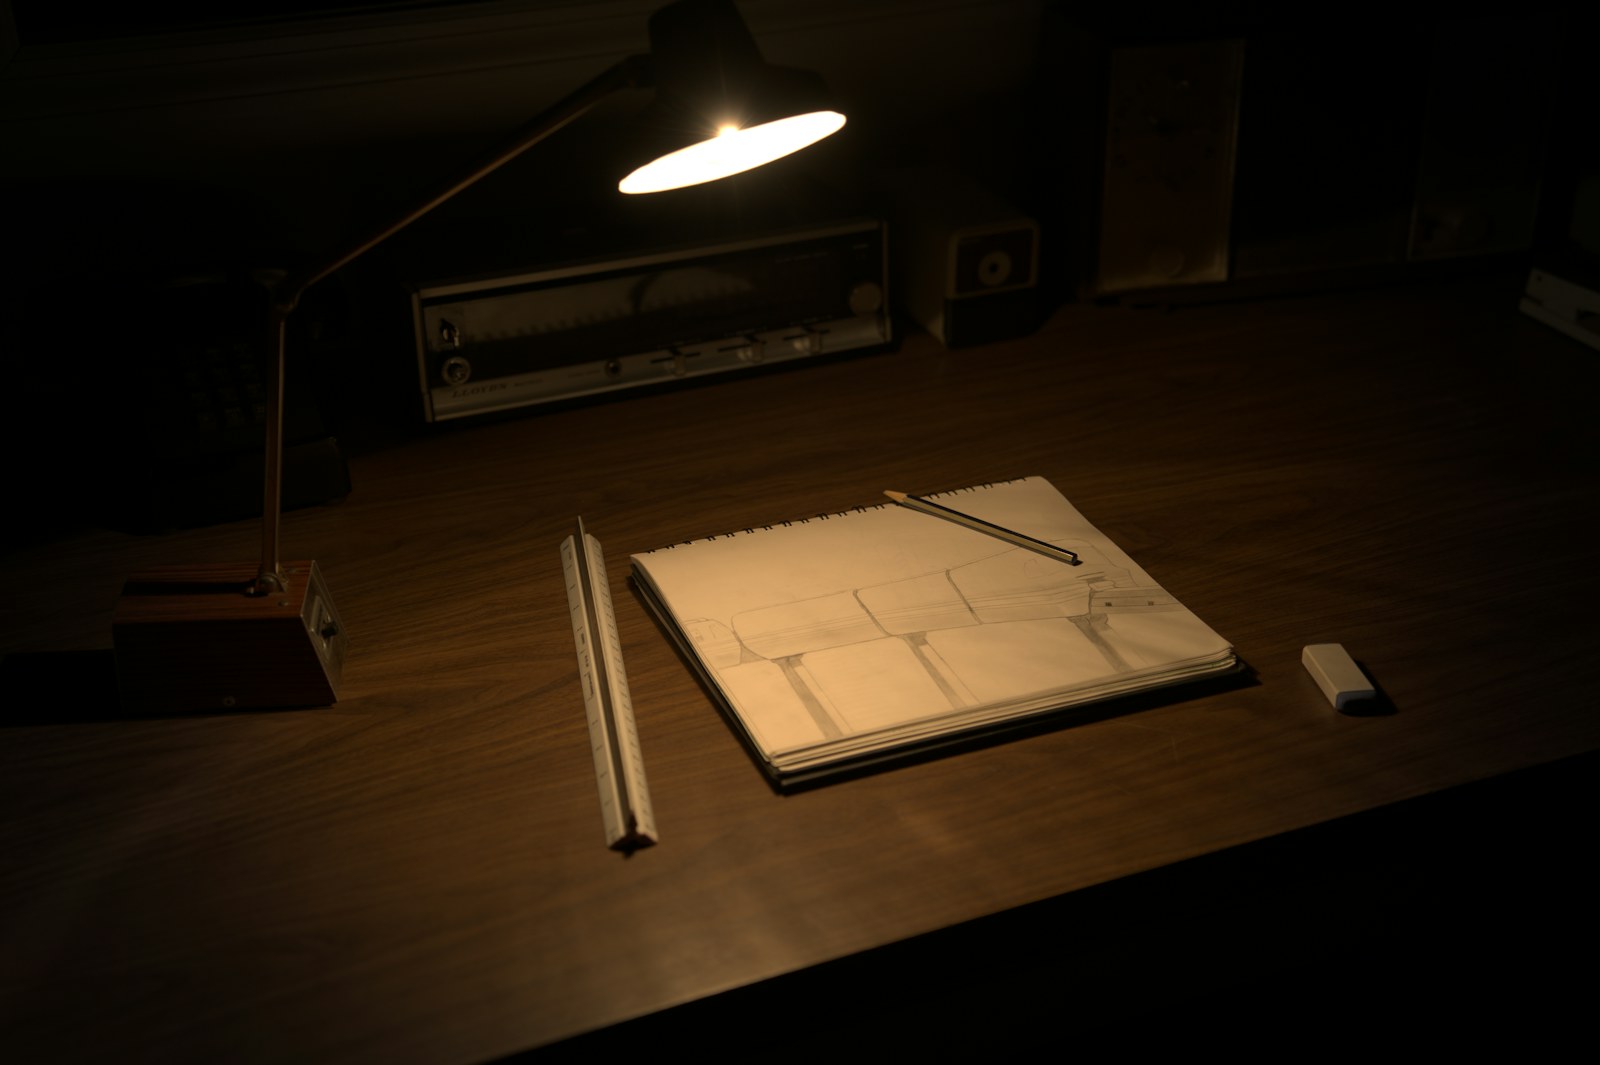
- Photograph paper sketches in even light and correct the perspective before uploading.
03
How to turn a sketch into an AI image
- 01
Choose the right generation mode
Look for image-to-image, sketch reference, structure control, or a similar option. Use text-to-image only when preserving the drawing is not important.
- 02
Upload the cleanest version of the sketch
Use a high-contrast scan, screenshot, or export. A clean input does not need to be polished, but the subject and major shapes should be readable at a glance.
- 03
Describe the subject and purpose
Start the prompt with what the image is: for example, “compact reading lamp product concept” or “small café interior viewed from the entrance.”
- 04
Add material, light, color, and style
Use observable details such as “matte ivory ceramic,” “soft daylight from the left,” and “warm neutral palette.” Avoid relying on vague words such as “premium” or “beautiful.”
- 05
Set the sketch or structure strength
If the tool offers a strength control, begin near the middle. Increase it when the result ignores the drawing; decrease it when the image looks too literal or cannot develop useful detail.
- 06
Generate several variations and compare
Judge each result against the same criteria: composition, proportions, required details, material, light, and mood. Choose the version that best preserves the idea, not simply the one with the most polish.
- 07
Revise one variable at a time
Change the material, lighting, structure strength, or one selected region in each pass. When many instructions change together, it becomes difficult to learn what improved the result.
04
A reusable sketch-to-image prompt template
Use this order: subject and purpose; viewpoint and composition; materials and color; lighting and environment; rendering style; details that must remain unchanged.
Example: “Compact desk lamp concept, three-quarter front view, preserve the curved arm and circular base from the sketch. Matte off-white ceramic body with a brushed aluminum joint. Soft morning window light from the left, pale gray studio background, realistic product visualization. Keep the original proportions and do not add controls or cables.”
- Subject: What is the object, scene, character, or interface?
- Viewpoint: Front, side, overhead, eye level, wide, or close-up?
- Material and color: What should each major region look like?
- Light: Where does it come from, how soft is it, and what time or mood does it suggest?
- Style: Photograph, marker rendering, watercolor, editorial illustration, 3D visualization, or another coherent direction?
- Constraints: Which proportions, objects, text, pose, or empty areas must stay unchanged?
05
How to preserve the sketch composition
Keep the source and output at the same aspect ratio. A new frame can cause cropping, empty borders, or an unwanted recomposition. This matters for rooms, products, posters, storyboards, and interface concepts where the relationship to the edges is part of the idea.
If the tool keeps redesigning the scene, simplify the prompt and increase structure guidance. If it still drifts, split the job: generate the overall image first, then correct individual regions with a selection or mask.
06
Common sketch-to-image problems and fixes
- 01
The AI ignores the sketch
Increase reference strength, simplify overlapping lines, and state which shapes or placements must remain. Confirm that you selected an image-guided mode rather than plain text-to-image.
- 02
The result copies every rough line
Reduce structure strength, erase construction marks, and describe the desired surface or volume more clearly. A loose underdrawing should not compete with the final silhouette.
- 03
Materials look generic
Replace broad adjectives with specific surfaces and finishes: glazed ceramic, translucent acrylic, uncoated paper, brushed steel, or woven wool.
- 04
The style is inconsistent
Remove stacked or contradictory style terms. Choose one medium, one lighting setup, and one level of realism for the next pass.
- 05
One detail keeps changing
Stop regenerating the whole image. Select that region, describe the correction, and use an edit or inpainting workflow.
- 06
Text and logos are wrong
Treat generated text as a placeholder. Add exact typography, logos, dimensions, and regulated labels later in a layout or production tool.
07
When sketch-to-image is useful—and when it is not
Sketch-to-image is useful for mood exploration, material studies, early presentation images, storyboards, spatial concepts, character directions, and comparing several visual approaches before production.
It is not a substitute for exact CAD geometry, construction documents, production-ready interface states, accessible typography, or legal review of commercial assets. Keep the original sketch and generation history so you can distinguish your decisions from generated interpretation.
08
Final checklist before you use the result
- Does the composition still match the sketch?
- Are the proportions and important negative spaces preserved?
- Did the model add objects, controls, text, or details you did not request?
- Are material and lighting choices consistent across the image?
- Can you explain what changed between this version and the previous one?
- Does the image need manual cleanup, typography, or technical validation before it is shared?